How to Make Handcrafted Paper Flower Shadow Boxes
How to Make Handcrafted Paper Flower Shadow Boxes
How to Make Handcrafted Paper Flower Shadow Boxes
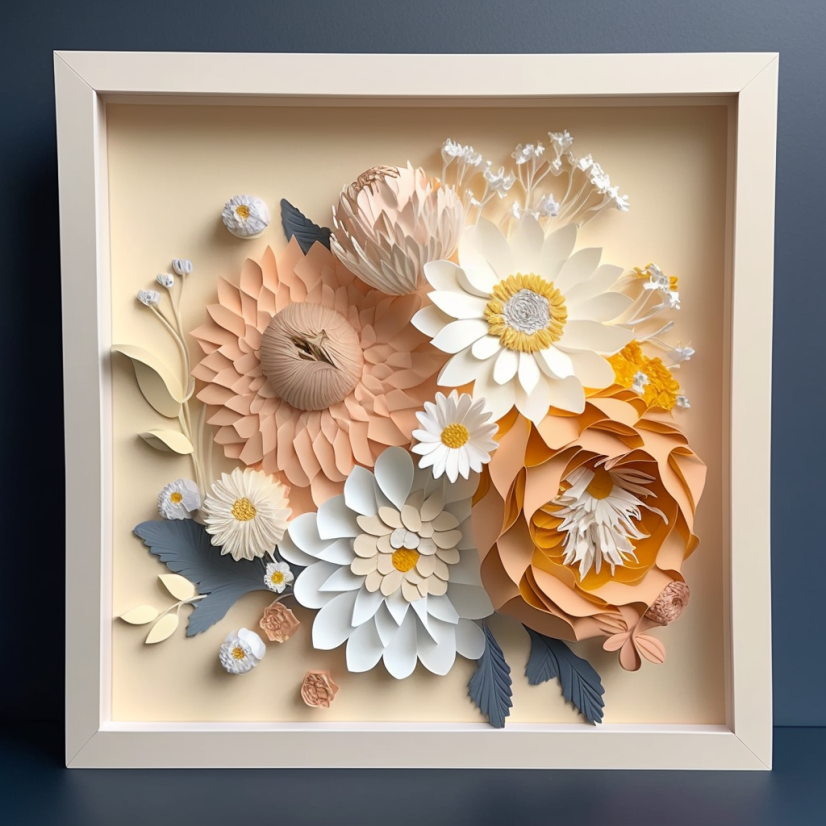
If you're looking for a fun and creative way to decorate your home or give a thoughtful gift to someone special, consider making a handcrafted paper flower shadow box. This project is a beautiful and affordable way to create a stunning piece of art that will brighten up any room.
Here's what you'll need: Materials:
- A shadow box frame
- Coloured paper or card stock
- Scissors
- Glue
- Double-sided tape
- Pencil
- Ruler
- Craft knife
Step 1:
Choose Your Color Scheme Before you begin, decide on the colour scheme for your flower shadow box. You can choose bright, vibrant colours for a bold look, or pastels for a more subtle effect. Once you have your colours picked out, gather your materials and get started.
Step 2:
Create the Flowers To create your flowers, cut out several circles of varying sizes from your coloured paper or card stock. Then, cut each circle in a spiral shape, starting from the outside edge and working your way in. Once you reach the centre, you'll be left with a small circle that will become the centre of your flower. Next, begin rolling the spiral from the outside edge toward the centre, gluing as you go. Once you reach the centre, glue the small circle in place to hold the flower together. Repeat this process with different sizes of circles until you have a variety of flowers in different colours and sizes.
Step 3:
Arrange the Flowers Once you have your flowers, it's time to arrange them in your shadow box. Start by placing the largest flowers in the centre, and then work your way out with the smaller flowers. You can use double-sided tape to secure the flowers in place.
Step 4:
Add Leaves and Details To give your flower shadow box more dimension and depth, add leaves and other details. Cut out leaf shapes from green paper or card stock, and glue them to the back of the flowers. You can also add other decorative elements, such as butterflies or bees, to make your shadow box more interesting.
Step 5:
Frame Your Shadow Box Once you've arranged your flowers and added any additional details, it's time to frame your shadow box. Place the back of the shadow box onto the frame, and secure it in place. Then, hang your new piece of art on the wall or place it on a shelf for all to admire.
In conclusion, making a handcrafted paper flower shadow box is a fun and creative project that can be completed in just a few hours. With a little creativity and some basic crafting supplies, you can create a stunning piece of art that will brighten up any room. So why not give it a try and see what you can create?
Last updated 2 years, 11 months ago
johndoe on Mon 27 Mar 2023 wrote:
Great article, thank you!